How To Make a 3‑D Aquarium Background Using Foam‑iT!® 5
Step 5: Casting Foam‑iT! 5
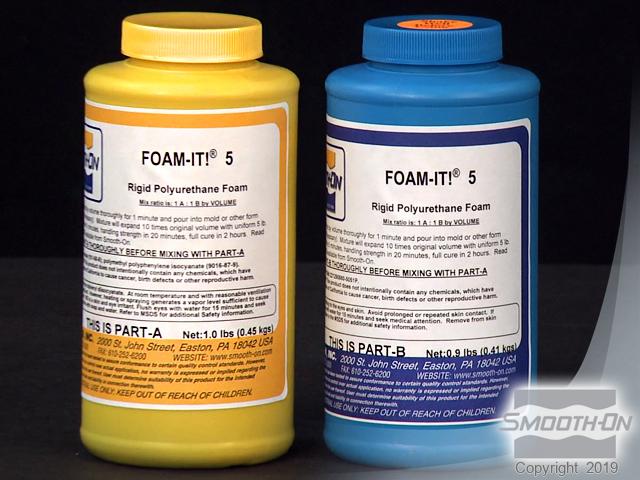
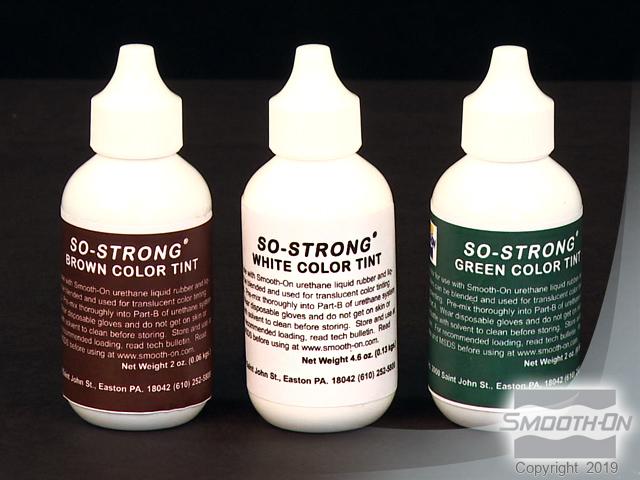
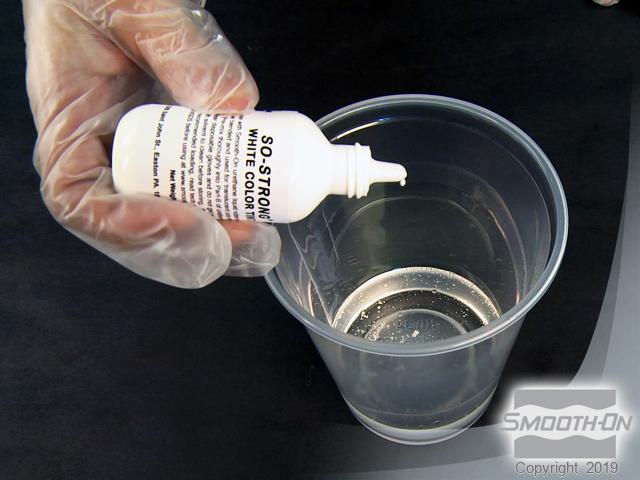
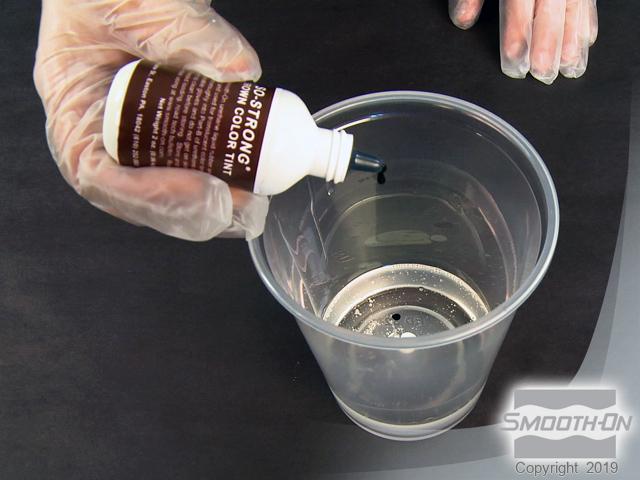
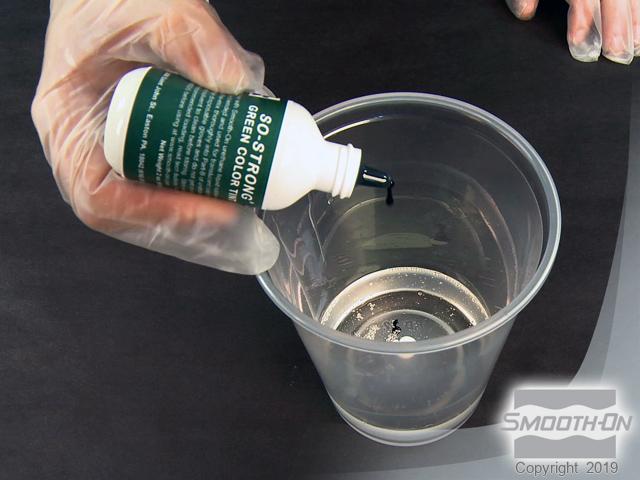
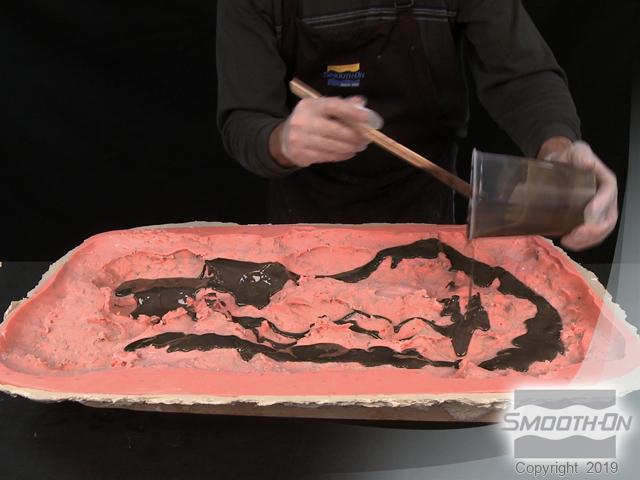
Begin with Foam-iT! 5 expanding foam. Dispense part A and dispense an equal amount of part B. SO-Strong color tints are used to pigment the foam casting. They are ultra-concentrated so a little goes a long way. Dispense the required amount of part B into a mixing container. Add a few drops of SO-Strong white, brown and green. Pre-mix the part B resin and 3 pigments together before adding part A.
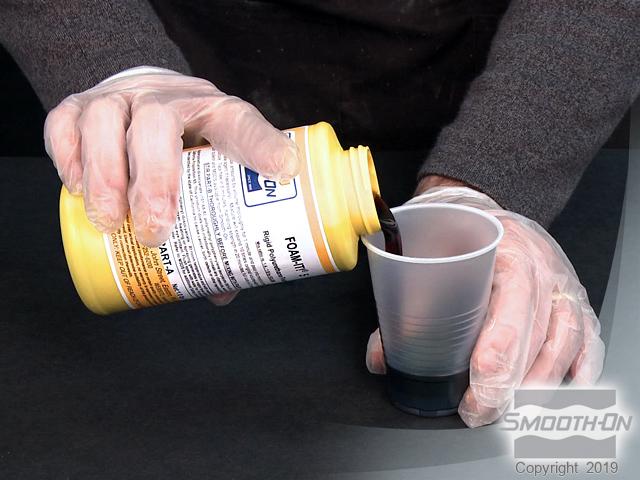
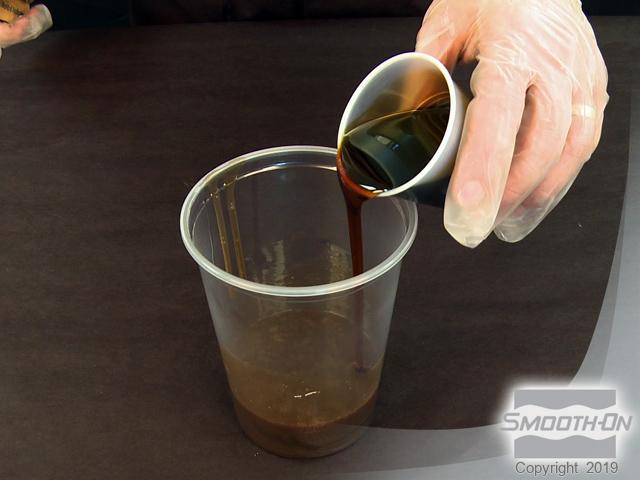
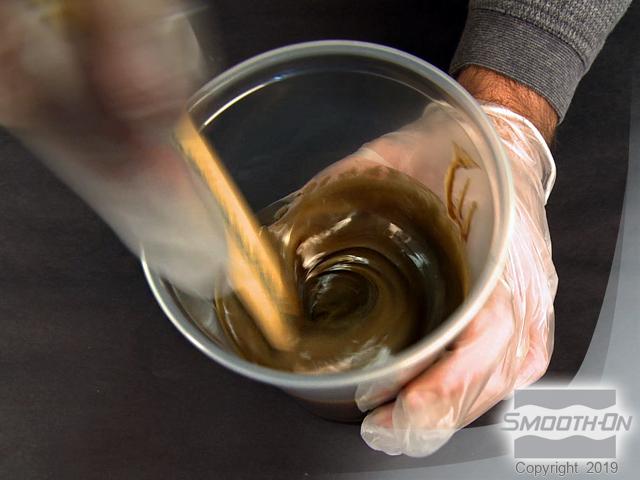
Pour part A into pre-mixed part B. Stir the foam vigorously. Foam-iT! 5 has approximately a 1.5 minute pot life.
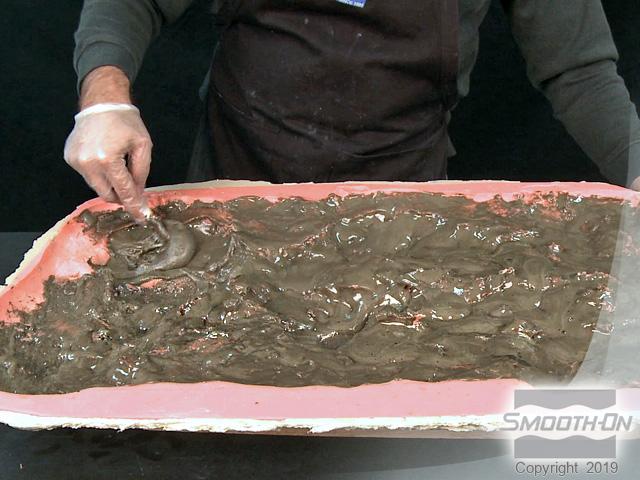
Pour the mixed foam into and around the mold in a random pattern. Use a brush to spread the foam around the mold as it starts to expand.
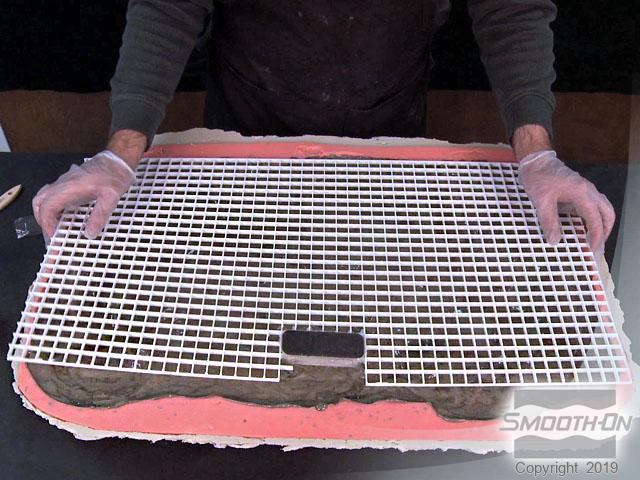
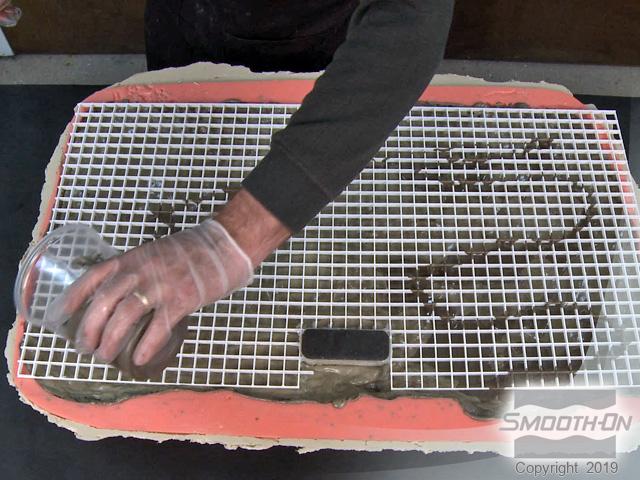
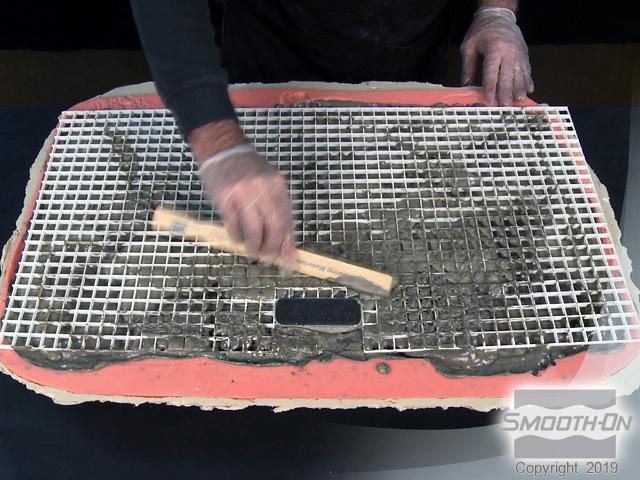
Add grid backer while foam is still expanding for stability and to create a flat back surface. Add more foam to help further secure the backer. Use a paint stick to distribute the foam through the grid.
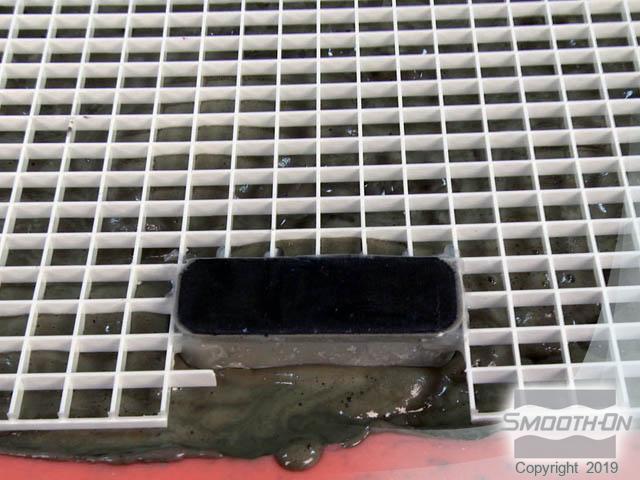
Embed one half of a Mag-Float* magnet in your foam. It will be used to secure the foam rock wall in place in the aquarium. Depending on the size of your custom made foam rock wall, you may need to embed more than one Mag-Float to hold your wall in place in the tank. *Mag-Float is a magnetic aquarium scraper that is used to clean algae from the inner glass tank surface.
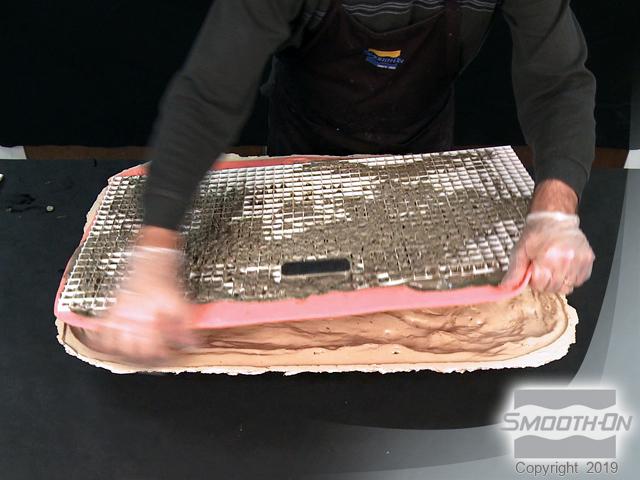
Once foam has fully cured, remove the entire structure from the support shell.