How To Make a 3‑D Aquarium Background Using Foam‑iT!® 5
Step 1: Create Foam Shape Using Foam‑iT! 5
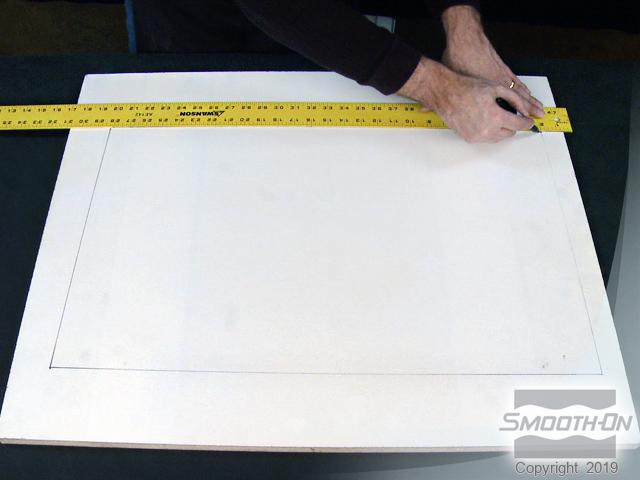
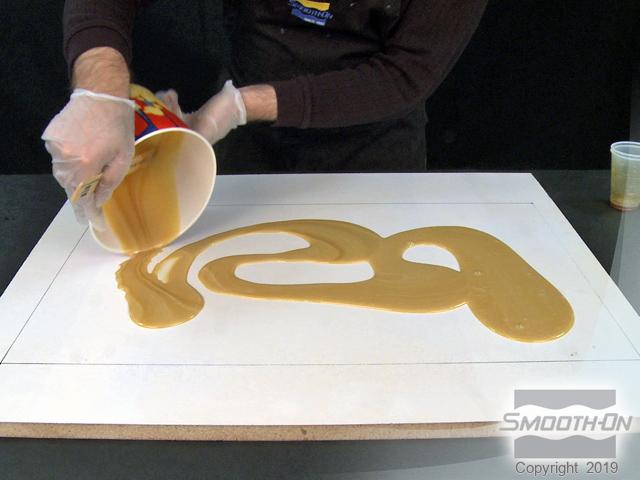
To begin, decide the shape and dimensions for the foam rock wall. Be sure to measure your tank to ensure that it will fit. Draw a box designating the wall perimeter on a base board.
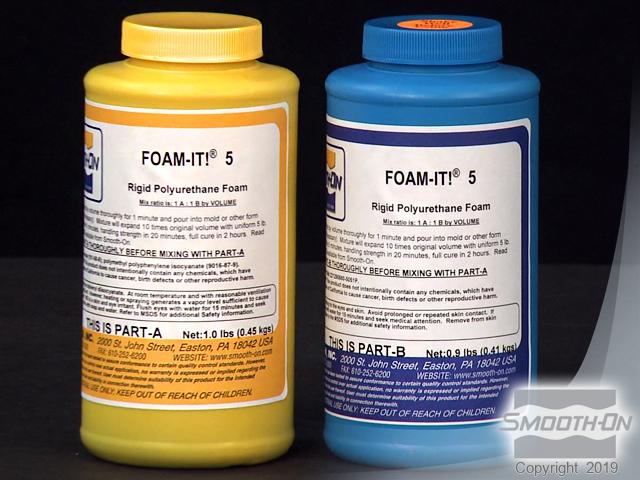
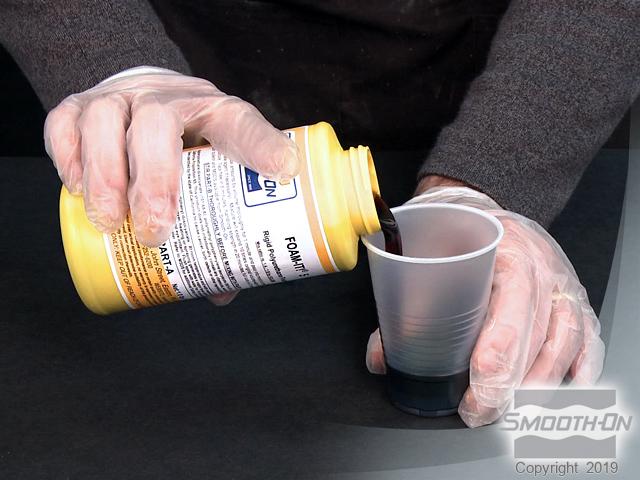
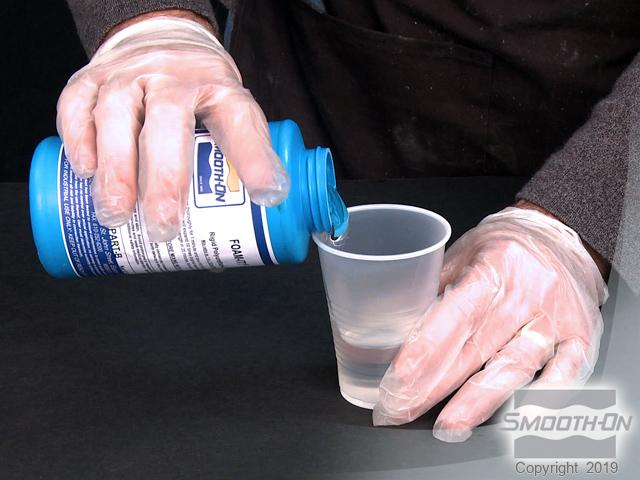
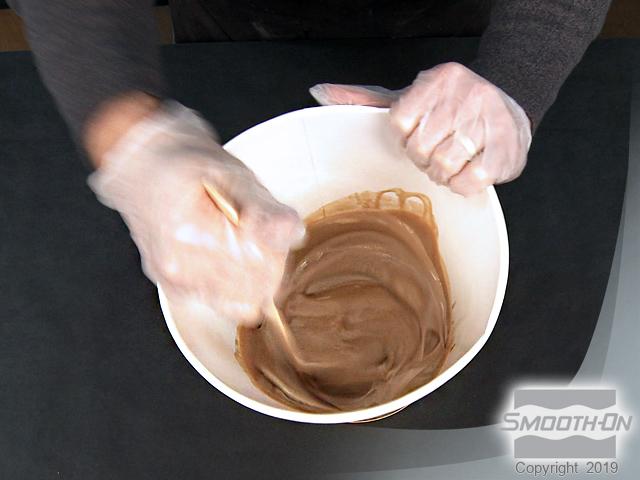
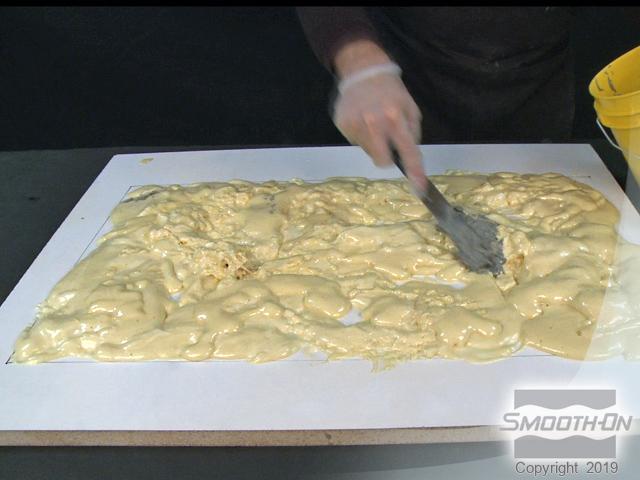
Foam-iT! 5 rigid foam is used to create the rock foundation. It has a mix ratio of 1 part A to 1 part B. Dispense part A. Then, dispense an equal amount of part B. Combine part A and B into a larger mixing container. Mix quickly and vigorously, scraping the sides and bottom of the container. Foam-iT! 5 has approximately a 1.5 minute pot life.
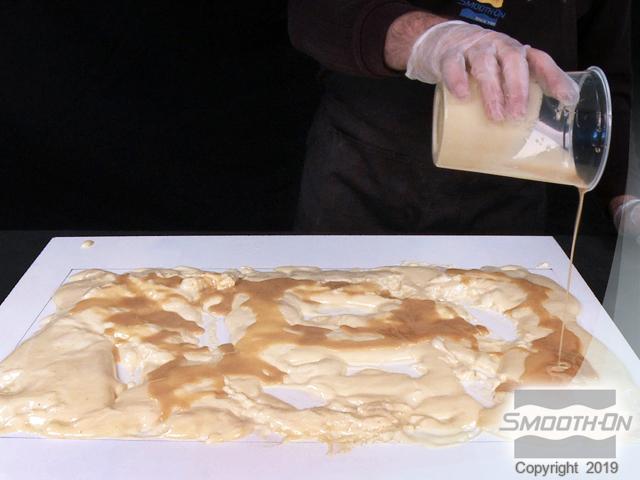
Pour the foam in a random pattern in the box perimeter that was drawn. Foam-iT! 5 has a 10X expansion rate. Continue to add layers of foam, pouring again in a random pattern. In order for subsequent layers to bond to previous layers, they must be added while the previous layer is partially cured, not fully cured (tacky but not in a liquid state).
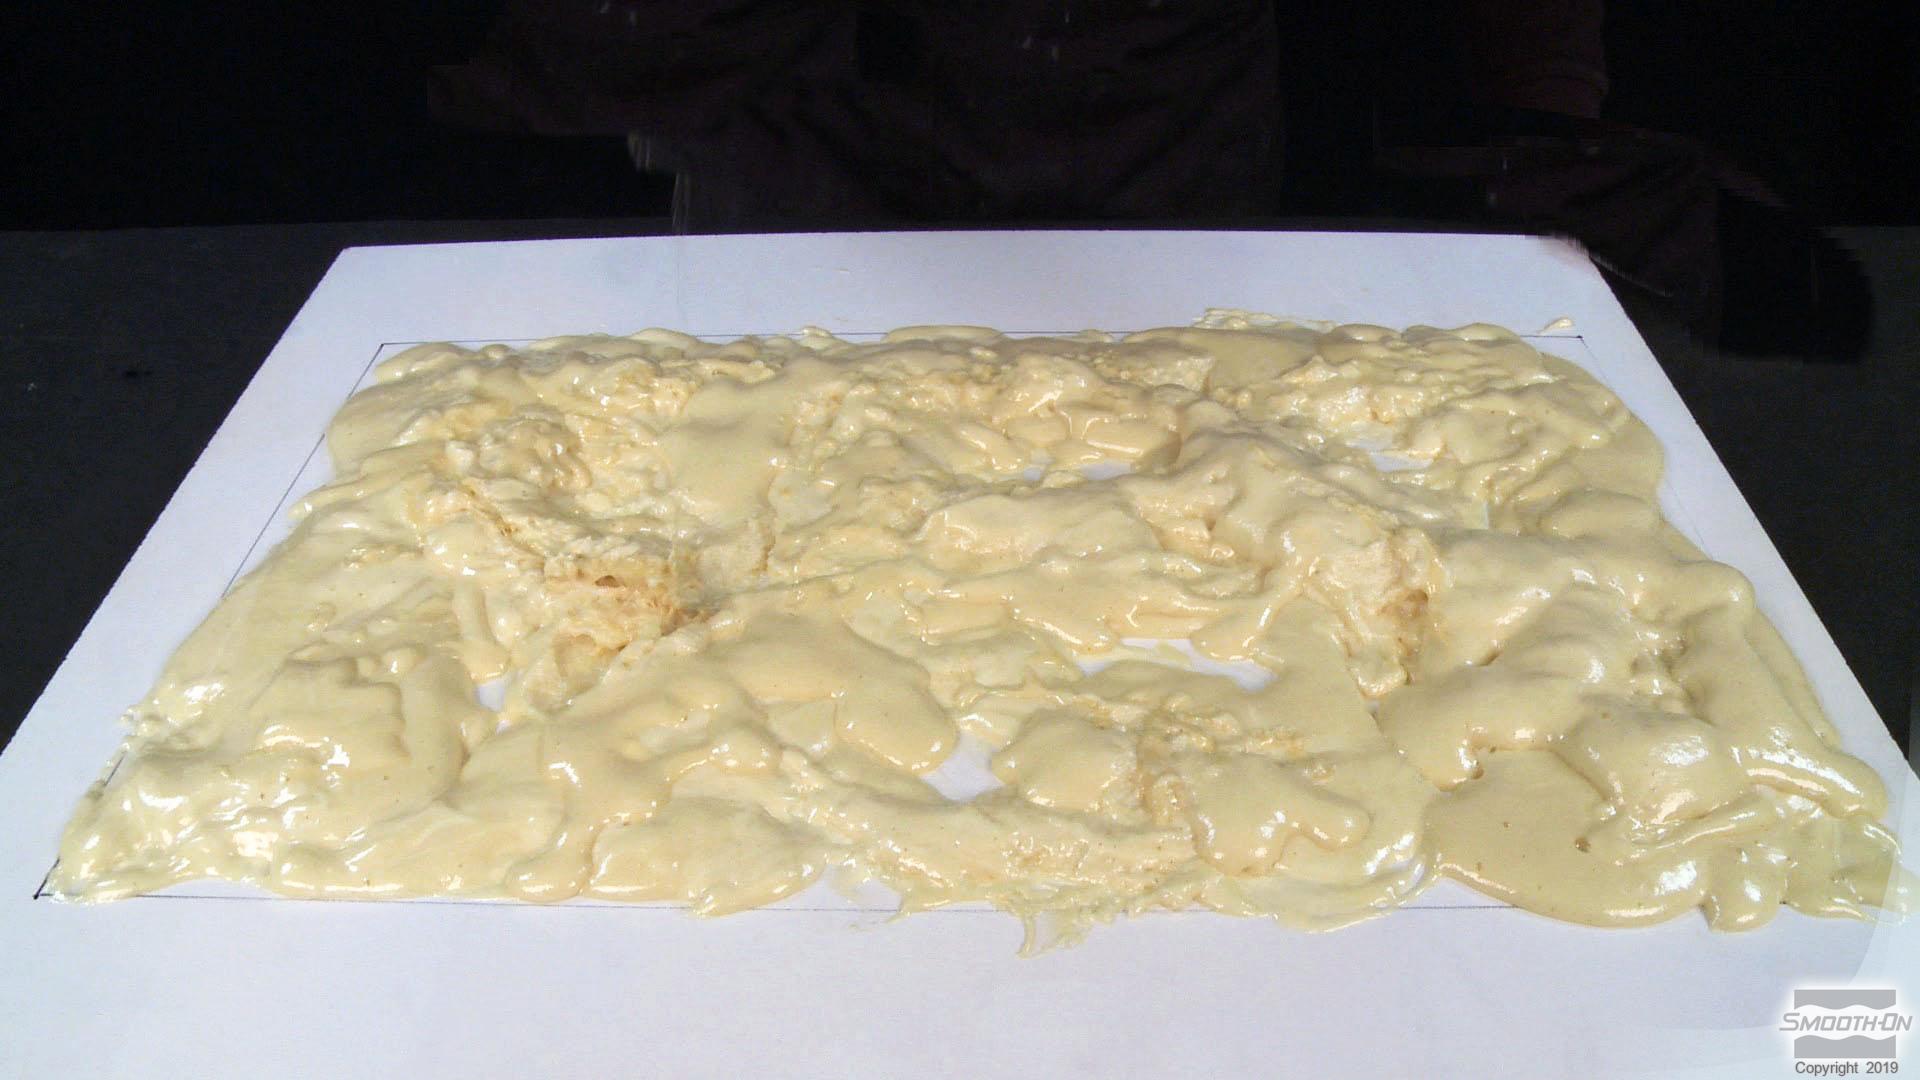
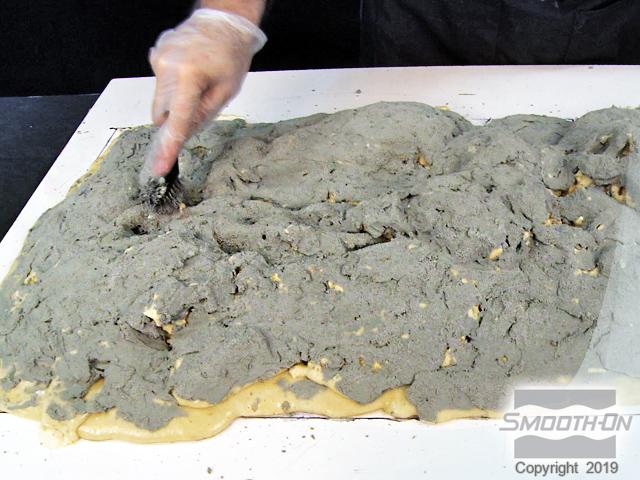
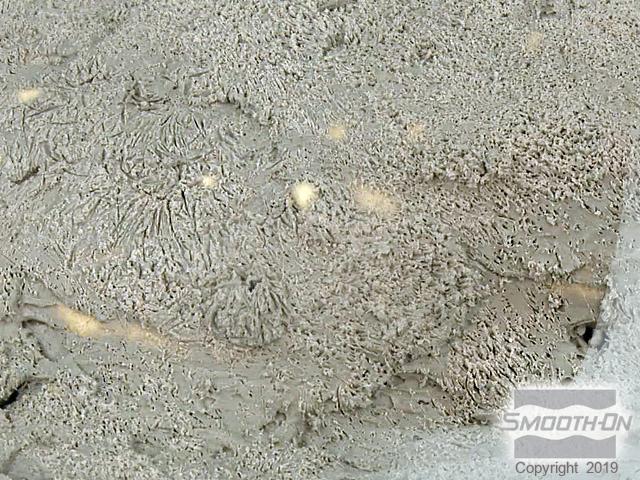
Allow Foam-iT 5 to cure for 2 hours at room temperature (73 F). The random pattern pour creates a foundation for the next step, clay build-up. Once the foam has fully cured, add water clay over it to create a realistic rock look. Texturize the clay using a stiff wire bristle brush. We are trying to mimic natural rock formations.