How To Reproduce a 3D Sculpture Using Brush‑On™ 40 Mold Rubber
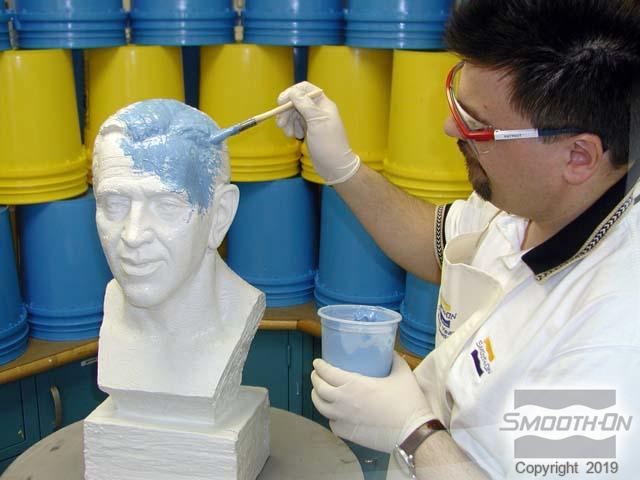
Step 3: Applying The First Coat of Brush‑On 40
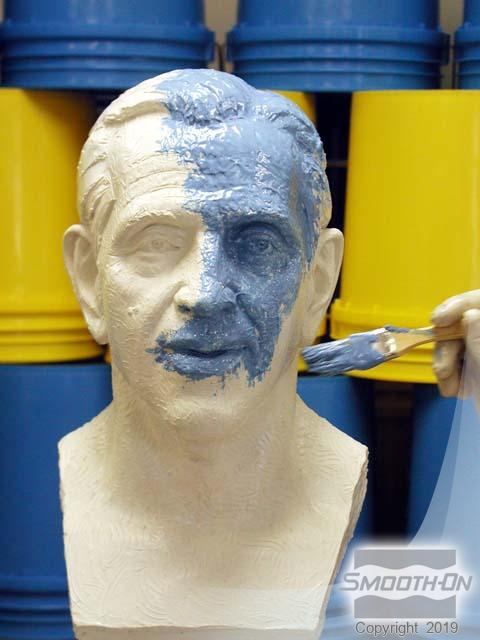
DO NOT OVER APPLY! The first coat, called the ''detail coat,'' is applied very thinly. This will enable the first layer of rubber to de-air itself. If you over apply, bubbles will be trapped in the first layer which will result in bubbles in the finished casting. Working from the top down, continue applying a thin first layer of rubber over the entire model. Use a 'stipple' application technique to ensure that the rubber works its way into all of the surface detail.
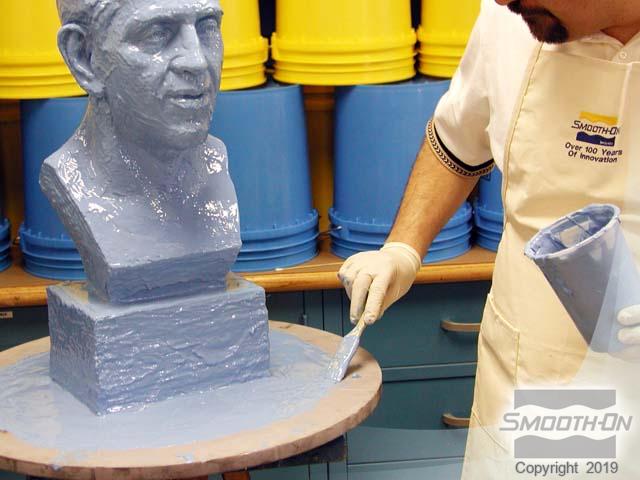
Cover the entire model and bring the rubber out to the edge of the platform, at least 3 in/ 7.62 cm from the base. This ''flange'' will help register the rubber mold with the support shell later in the mold making process. Once you are finished applying rubber, check to make sure you did not miss any areas.
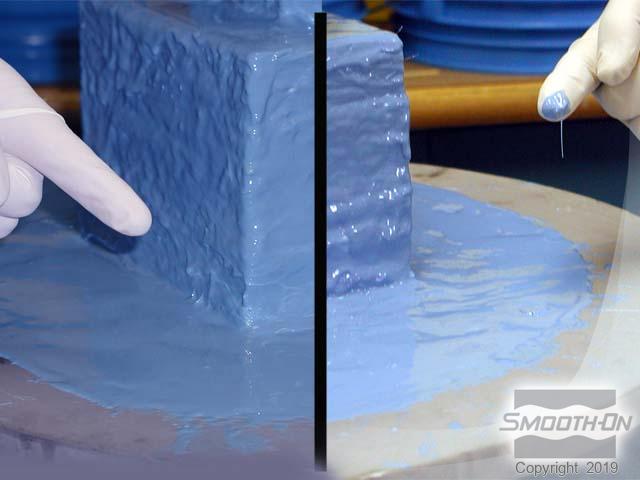
Allow the rubber to become ''tacky'' (sticky to the touch but does not come off on your gloved finger). After 30 minutes at room temperature, touch the rubber ''off model'' to test. If it's still wet and comes off on your glove, let it continue to cure. If the rubber is sticky and does not come off on your glove, you are ready to apply the next layer.