How To Reproduce a 3D Sculpture Using Brush‑On™ 40 Mold Rubber
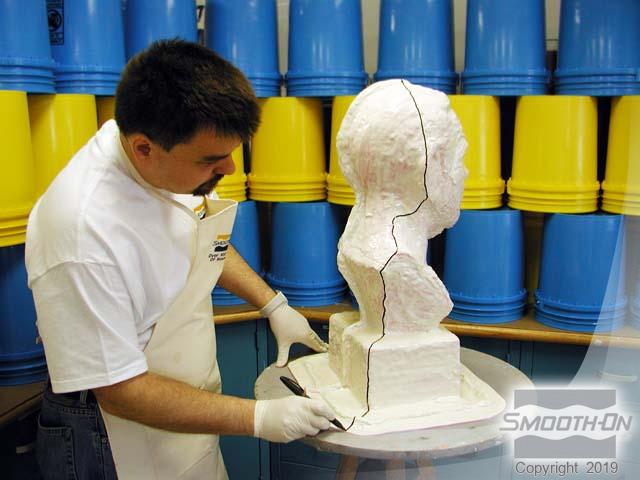
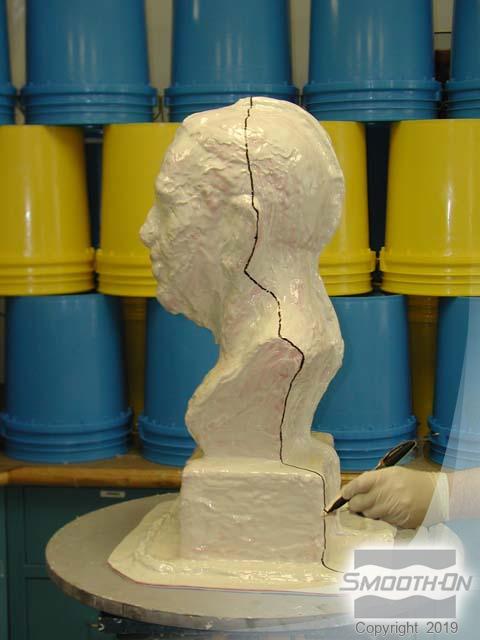
Step 10: Mapping Out Support Shell Segments
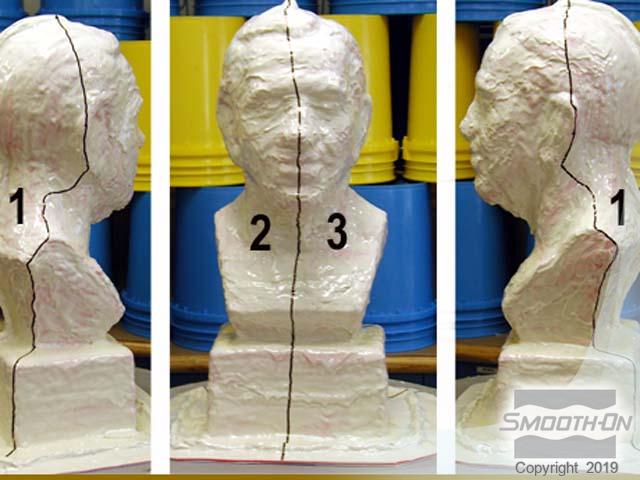
The first line is drawn from the top of the head down over the high point of the ear, continuing over the high points of the shoulder and down to the outer edge of the mold. An identical line is drawn down the opposite side of the mold along the high points to the outer edge of the mold. A third line is drawn down the front of the mold, starting at the head and continuing down the center of the nose, over the chin and to the outer edge. The final image illustrates the defined 3 segments of the support shell for this application.
‹ Previous: Next Day: Preparation of Model For Support Shell
Next: Applying Clay To Mapped Out Support Shell Segments ›