How To Reproduce a 3D Sculpture Using Brush‑On™ 40 Mold Rubber
Step 5: Dispensing and Applying Thickened Brush‑On 40
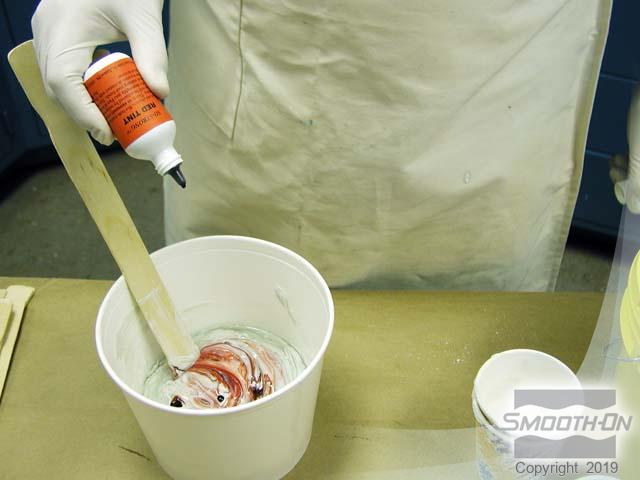
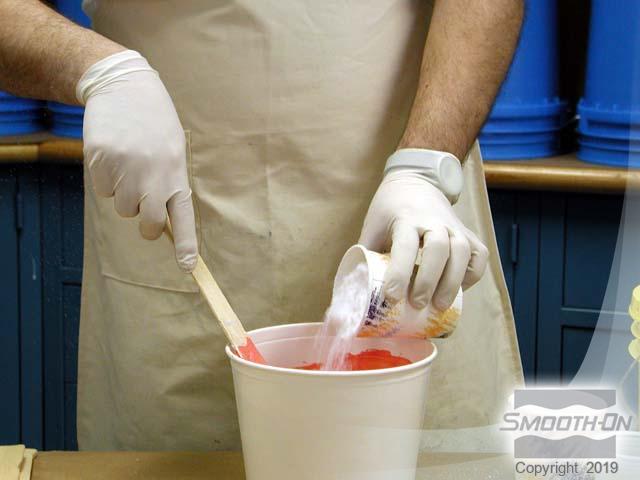
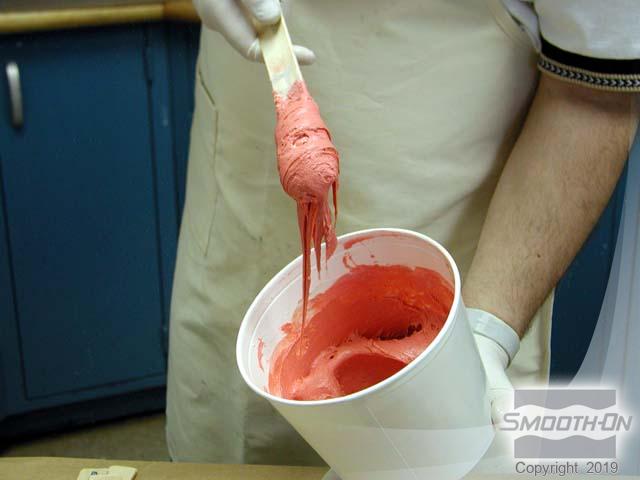
Add So-Strong Red Tint to Part A of the Brush-On 40. Ure-Fil 9 is then added a little at a time until the right 'thixotropy' is attained. Mix the pigmented Brush-On® 40 and Ure-Fil 9 together well. The rubber is notably thicker, approaching the consistency of bread dough.
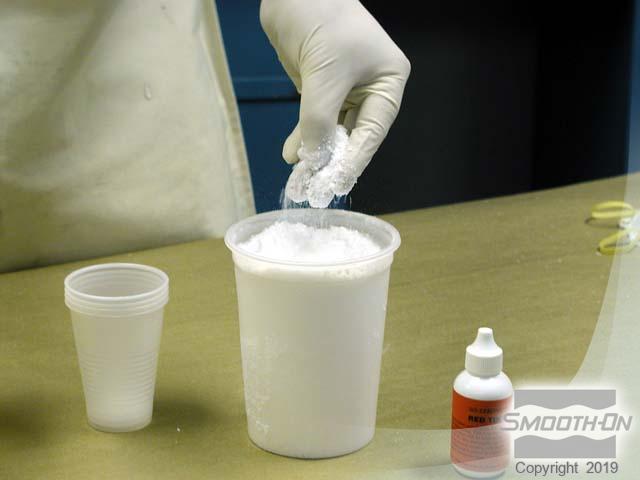
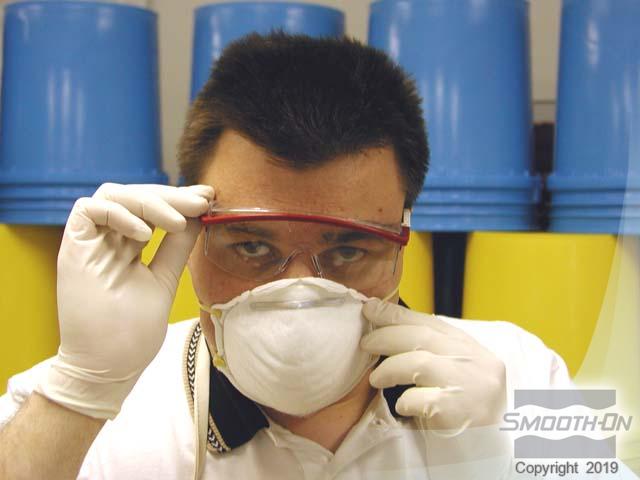
Safety First: Wear a safety mask to prevent inhalation of the Ure-Fil 9 powder. Ure-Fil 9 is a fumed silica that is often used as a mold rubber. It is used to thicken the Brush-On rubber for the purpose of filling in undercuts and building a ''cut-shim''.
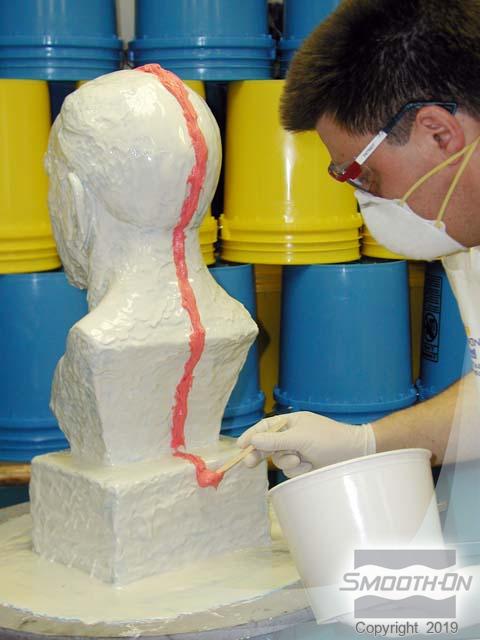
Begin building a 'cut seam'; the rubber mold will be removed from the model by cutting. We will cut the rubber along a thickened cut seam which will aid in registering the cut areas of the rubber when it comes time to cast into the mold. Starting at the top of the head and working straight down the back, the cut seam is applied.
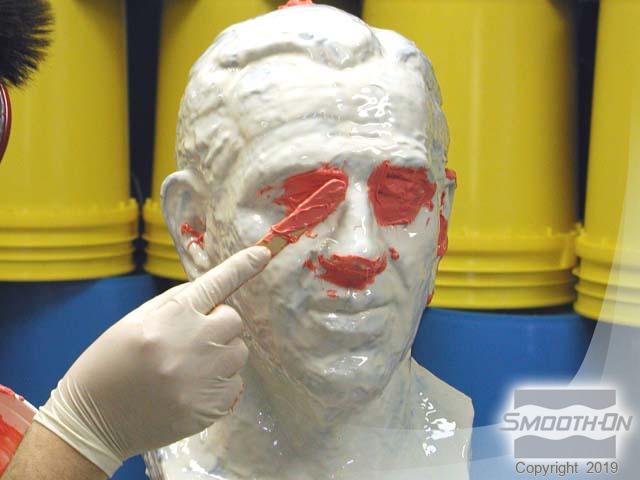
The thickened rubber is also used to make a registration key around the perimeter of the mold and to fill in undercuts and indentations (such as teh eyes, ears, and nostrils). This will make removal of the support shell much easier later by avoiding mechanical lock between the model and support shell.