How To Make a Brush‑On Mold Using Dragon Skin™ Silicone Rubber
Step 4: Applying Third and Thickened Layers of Dragon Skin 10 Fast
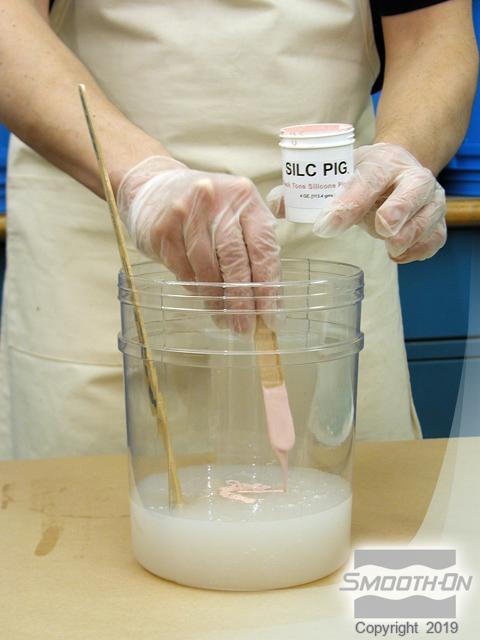
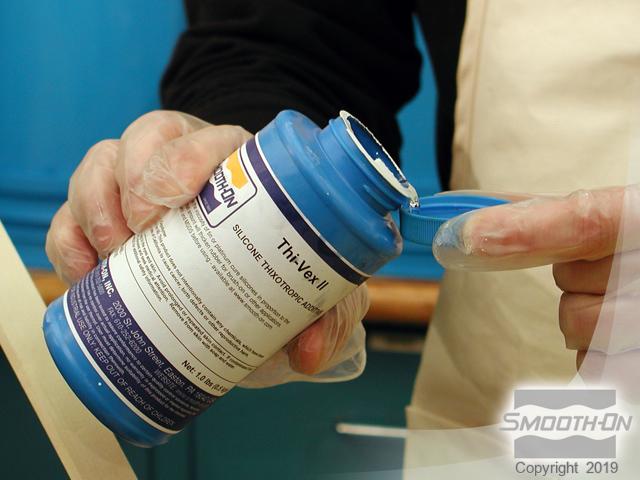
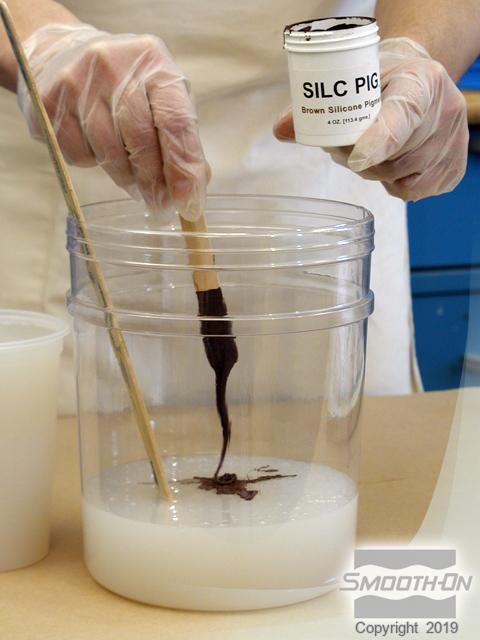
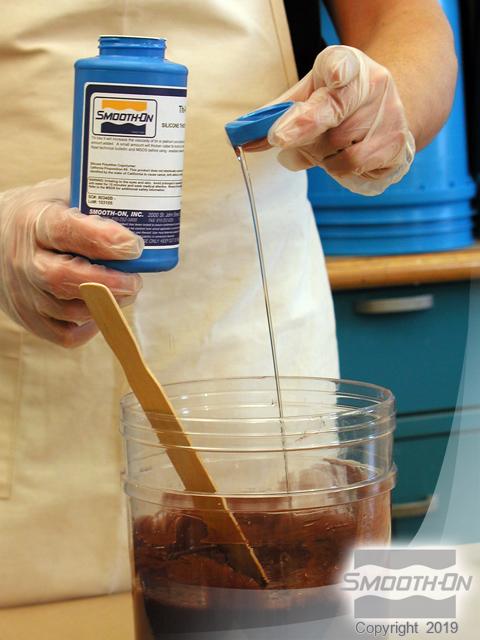
Mix a third batch of Dragon Skin® 10 Fast and add fleshtone pigment. Again, add and mix another capful of Thi-Vex® to thicken the Dragon Skin® 10 Fast.
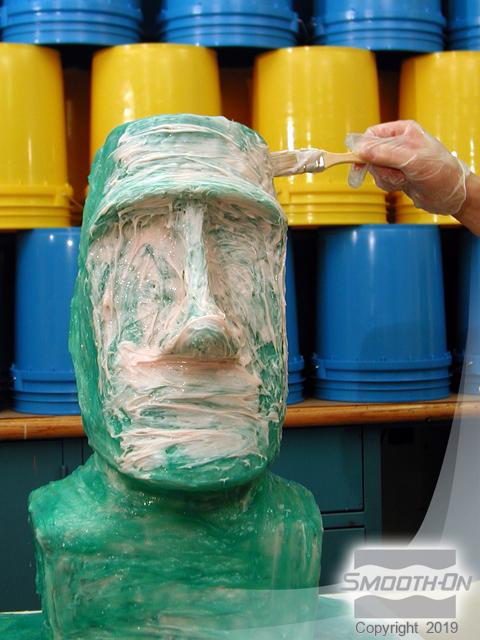
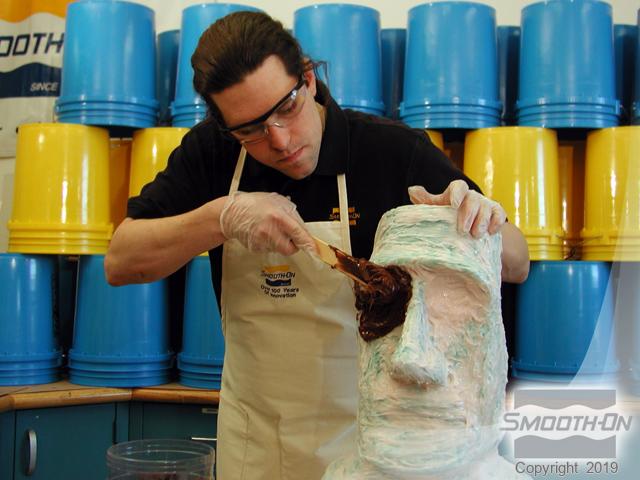
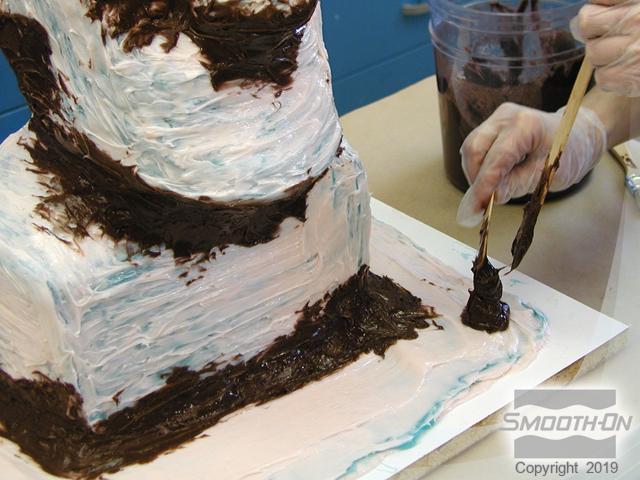
Now apply your third layer of Dragon Skin® 10 Fast over the entire model. Continue building a flange 3'' (8 cm) around the base of the model. You have then completed third layer. Allow rubber to cure until tacky prior to applying next layer (approximately 45 minutes).
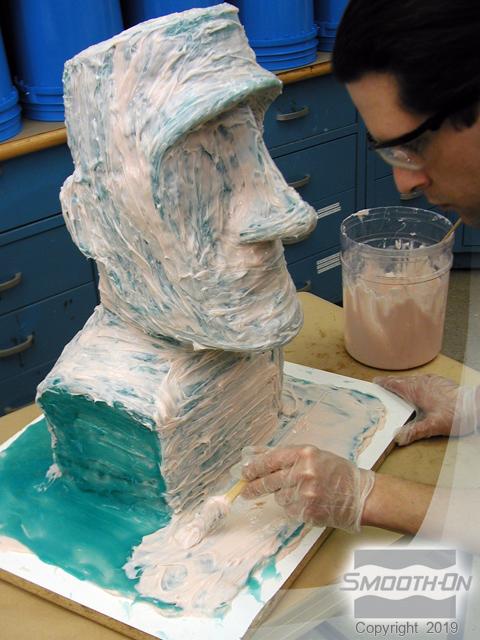
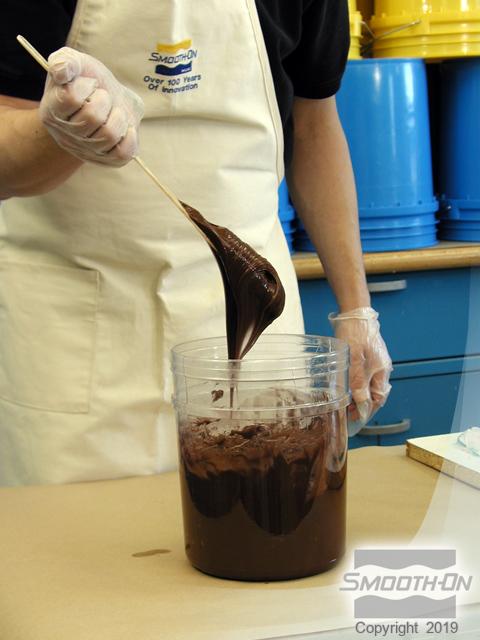
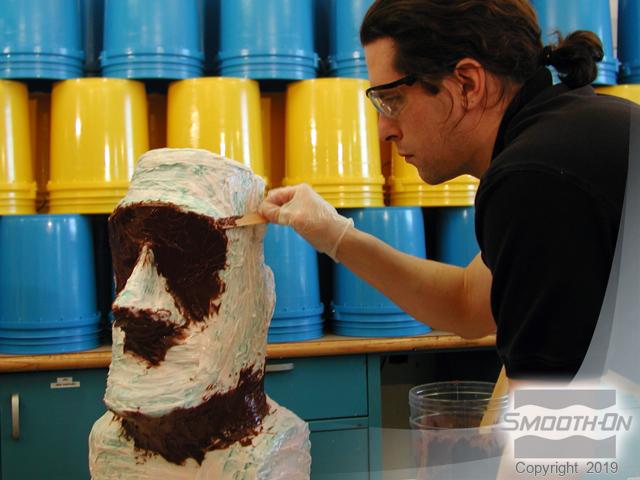
Mix another pigmented batch of Dragon Skin® 10 Fast. This batch is going to be used to fill in deep areas and undercuts. Add more Thi-Vex® than previous layers to thicken the material until it is no longer runny. For this batch, the thickened Dragon Skin® 10 Fast should have a consistency like peanut butter. Use the thickened material to fill in undercuts and deep areas (under the eyebrow, nose and chin). Smooth out edges of thickened areas to blend with the rest of the mold.
* Mold Maker's Tip: Use thickened material to create raised areas to serve as keys. These keys will help align the Dragon Skin® mold with the rigid support shell.
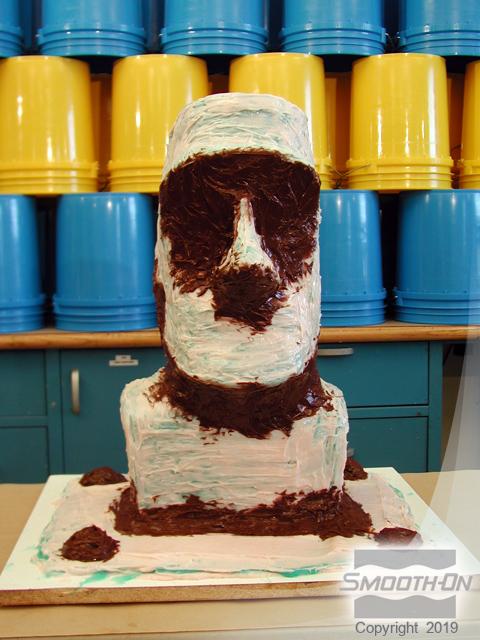
Completed thickened layer. Allow rubber to cure until tacky prior to applying next layer (approximately 45 minutes).