How To Make a Brush‑On Mold Using Dragon Skin™ Silicone Rubber
Step 10: Preparing & Casting FlexFoam‑iT X
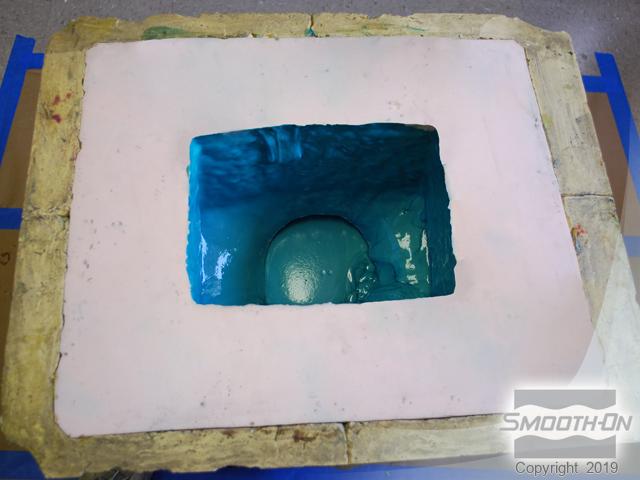
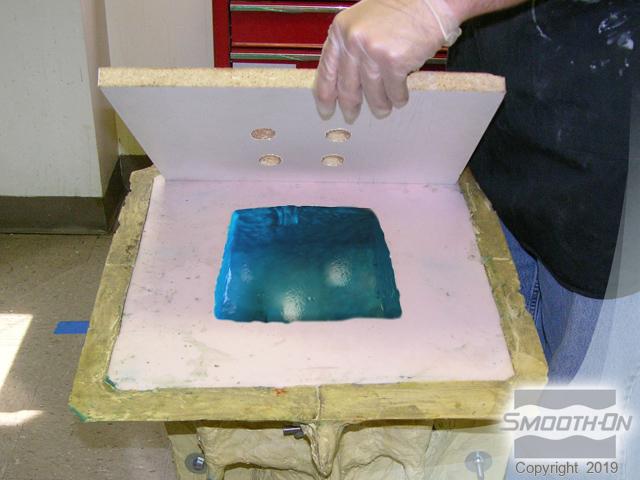
The hollow mold cavity is ready for casting. Smooth-On's FlexFoam-iT® X can be used to make a lightweight reproduction. Expanding urethane foams, like Smooth-On's Foam-iT!® and Flexfoam-iT!® series, produce the best detail and fill mold cavities better when back pressure is used. Back pressure can be applied by laying a board over the open cavity while the foam expands. Drill holes in the board for adequate pressure release while the foam is expanding inside the mold.
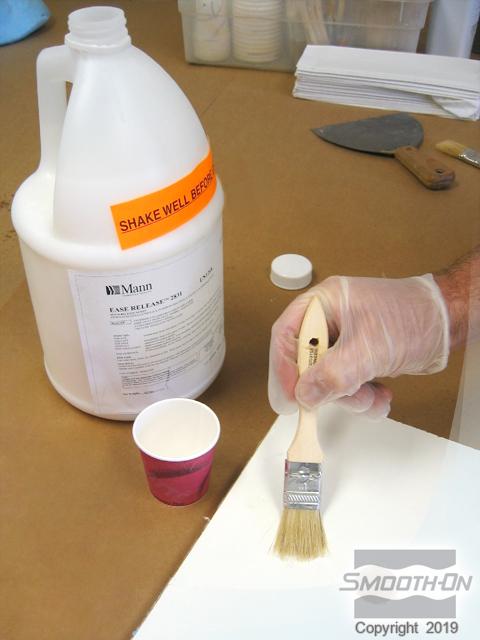
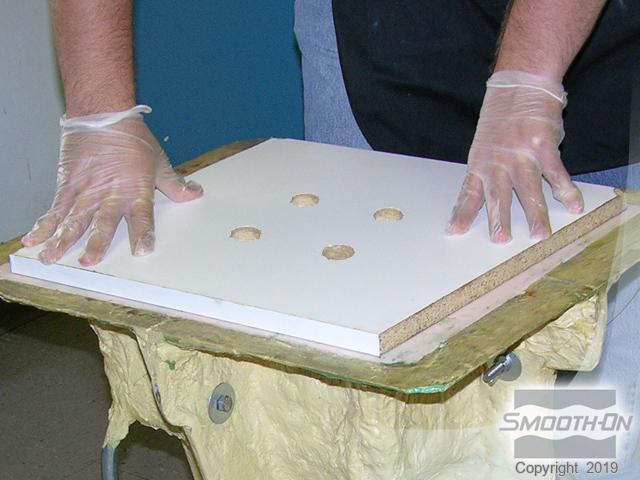
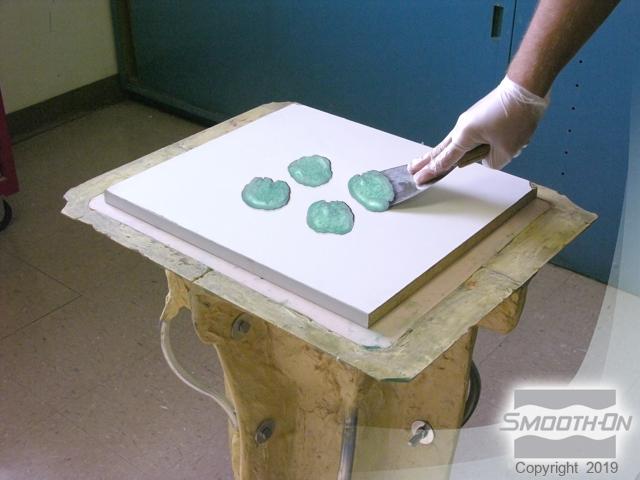
Important: Apply a liberal coat of Ease Release® 2831 over the board and into all holes to release the foam from the melamine board.
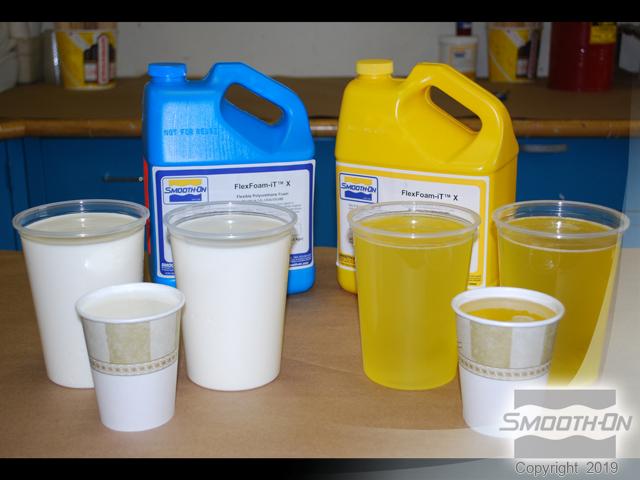
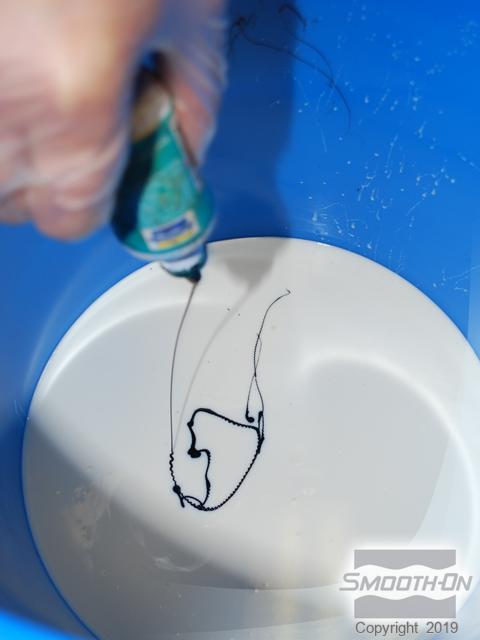
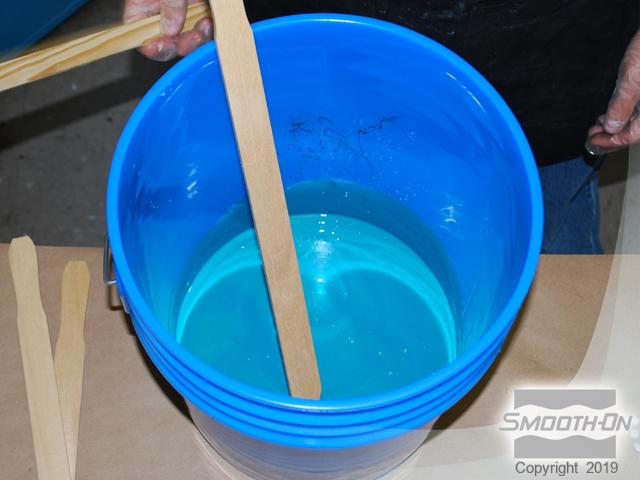
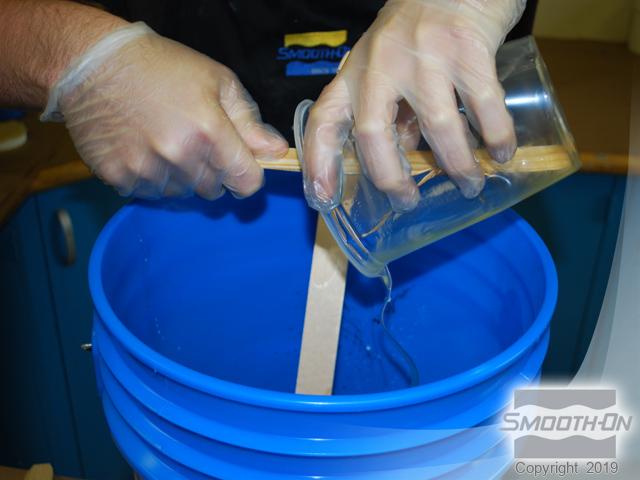
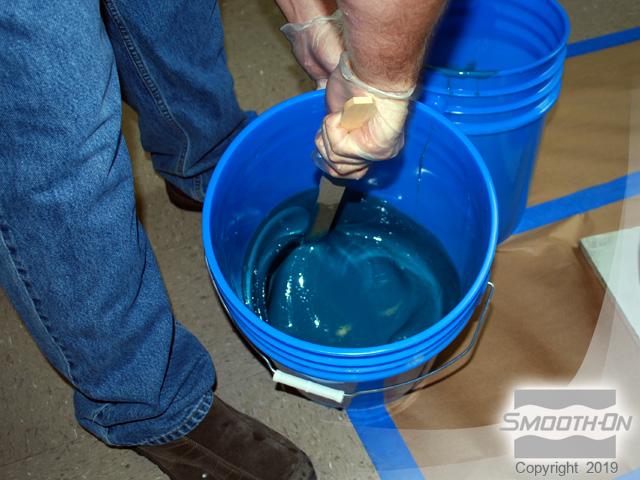
Mix FlexFoam-iT® X in a ratio of 1 Part A to 1 Part B by volume. Then dispense Part B into a larger mixing container and add SO-Strong® Green tint. Thoroughly mix the tint into Part B prior to adding Part A. Combine Part A with tinted Part B.
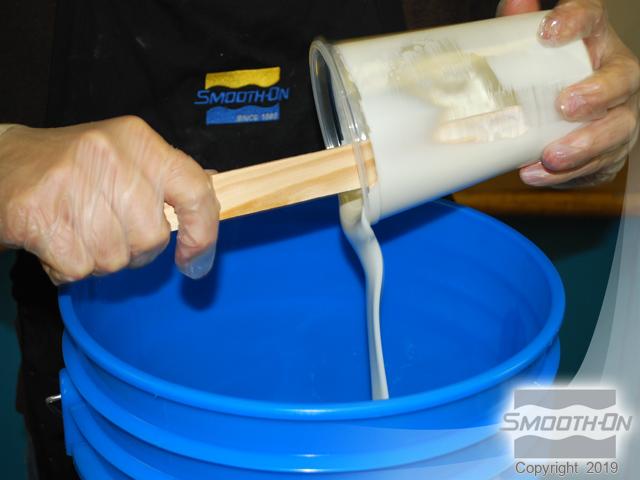
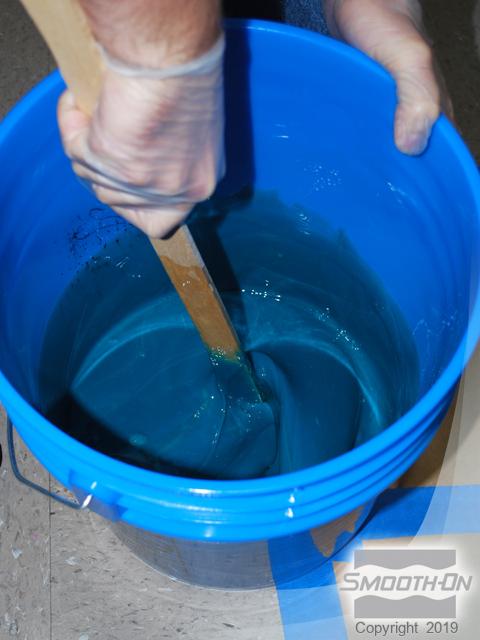
Quickly, yet thoroughly, mix Parts A and B. Be sure to scrape sides and bottom of the mixing container.
Reminder: FlexFoam-iT!® X has a 50 second working time - it is important to move quickly. For best results, do a double mix.
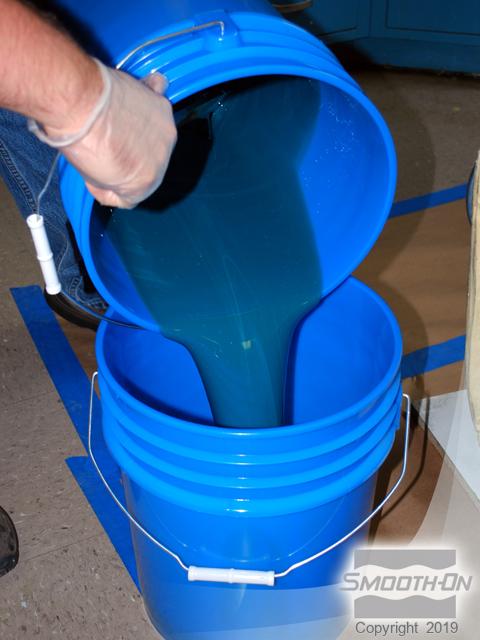
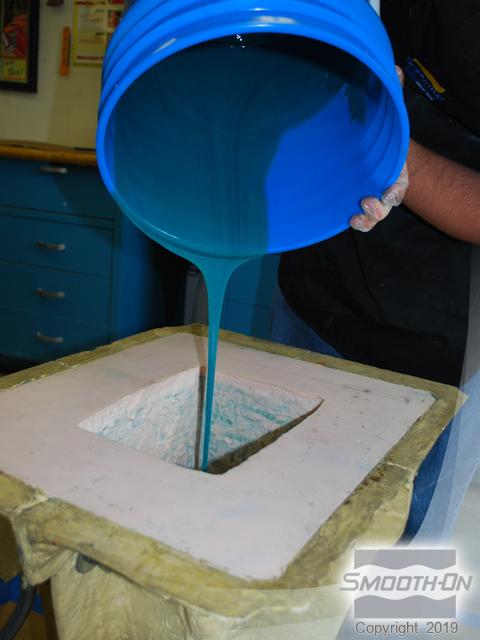
Start by pouring the entire mixture into a second container. Continue mixing until there are no color striations present. Pour mixture into the mold cavity.
Mold Maker's Tip: Rolling the entire mold will help ensure FlexFoam-iT!® achieves thorough coverage over all surfaces.
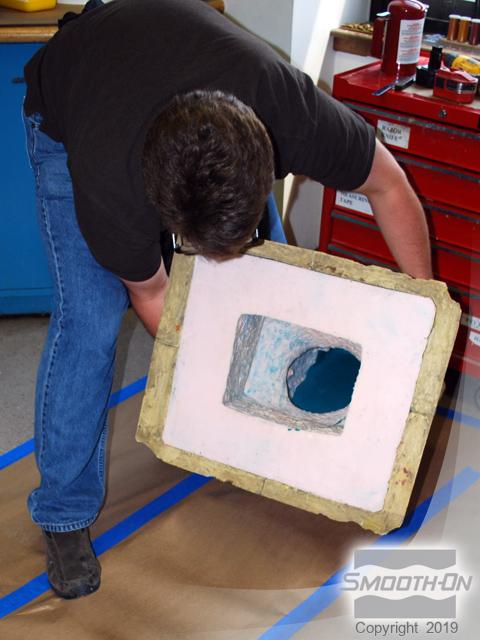
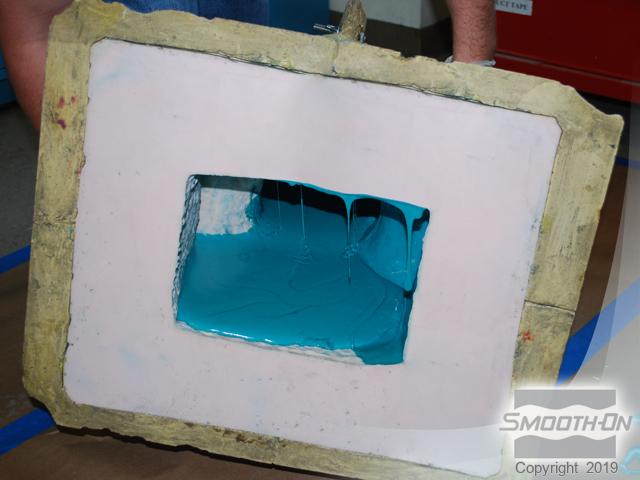
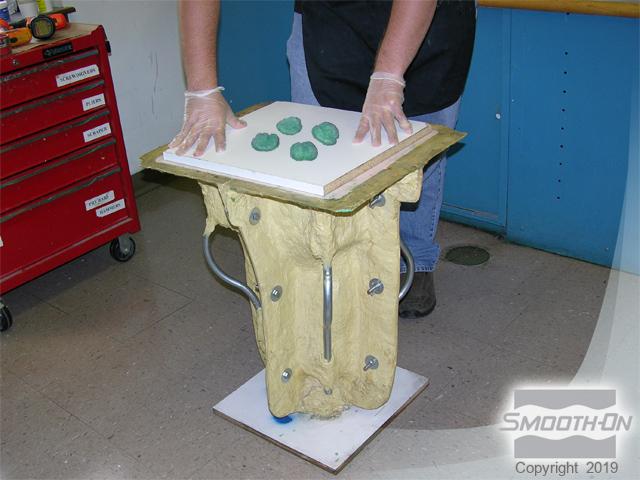
Allow the foam to pour to the very edge of the mold cavity prior to turning to next side. Continue turning the mold until all interior surfaces are covered. Once the foam begins to expand, return the mold to a vertical position and allow foam to rise. Cover the mold opening with the board created in previous steps. Position the board with holes centered over the cavity. Press down firmly as the pressure from the rising foam can force the board out of position. Depending on the pressure, locking straps may be necessary to keep the board in place. FlexFoam-iT!® X expands 6 times its original volume and develops a uniform 10 lb./cu. ft. cell structure. Excess foam will rise out of the holes in the board creating ''mushroom caps'' on the top of the board. Using a scraper, remove the excess foam. The board can then be removed from the opening of the mold.