How To Make a Brush‑On Mold Using Dragon Skin™ Silicone Rubber
Step 2: Dispensing, Mixing and Applying First Layer of Dragon Skin 10 Fast
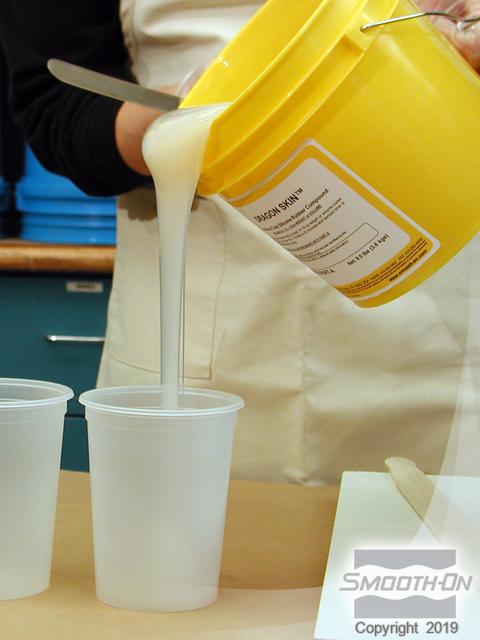
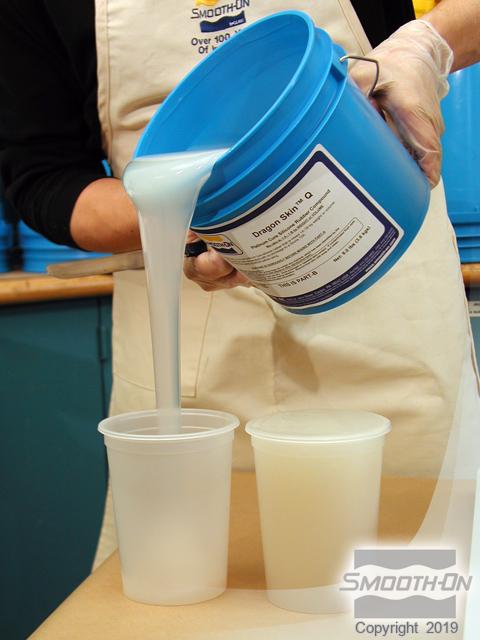
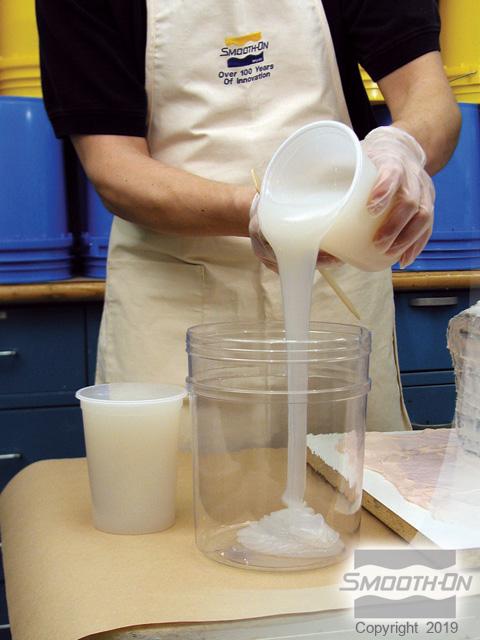
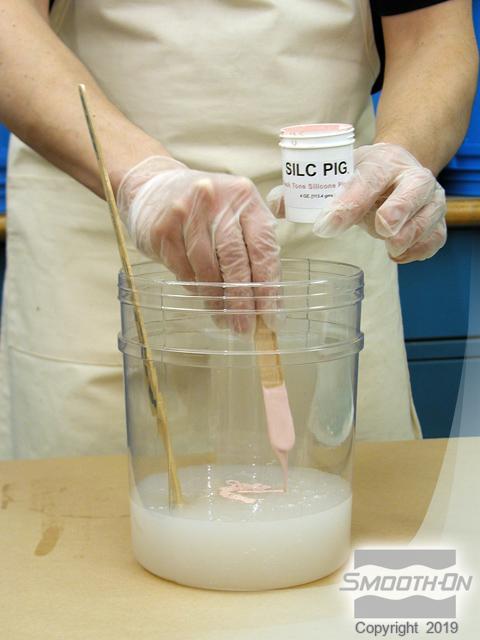
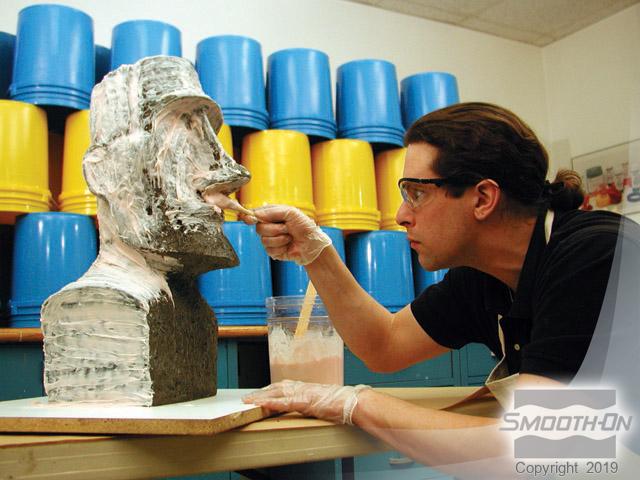
After you have prepared your model, premix both parts of Dragon Skin 10 Fast. Once pre-mixed, measure out an equal volume of both Part A and Part B of Dragon Skin® 10 Fast. Dispense Part B into a larger mixing container. Add Silc-Pig® Fleshtone pigment to Part B. Pigmenting the naturally translucent Dragon Skin® silicone will help ensure a thorough cover over the entire model.
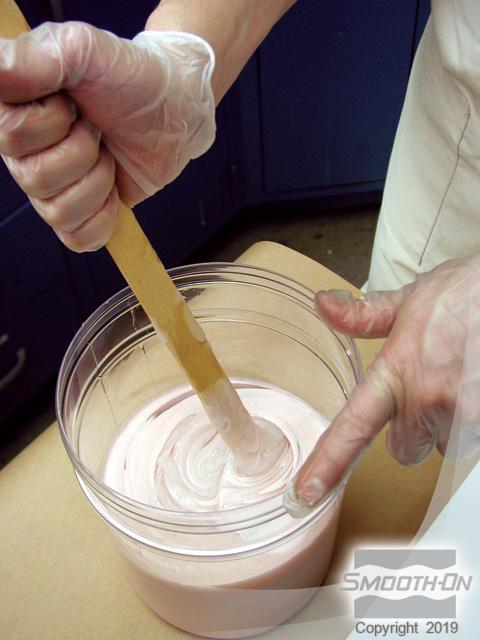
Thoroughly mix pigment into Part B prior to adding Part A. Make sure you have no striations between the Part B and the Silc Pig® pigment. Then add Part A to the pigmented Part B and thoroughly mix them together. Be sure to scrape the sides and bottom of mixing container several times. By pigmenting one part of the silicone, it is easy to see if material has been mixed properly. Continue mixing until there are no color striations.
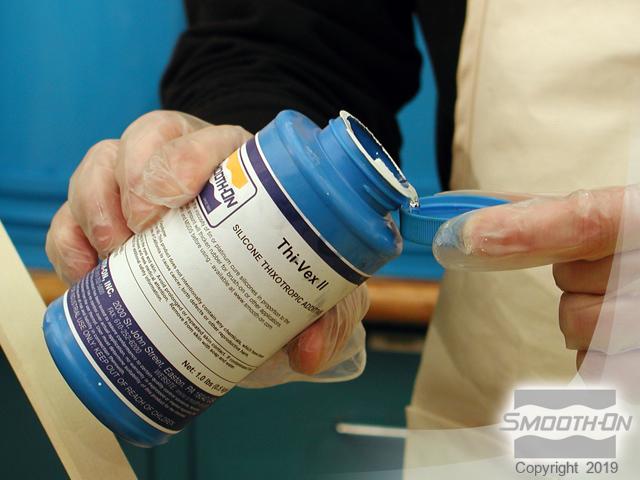
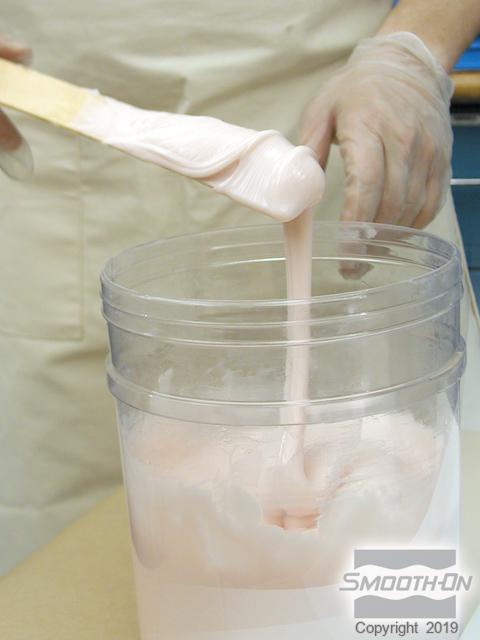
Dragon Skin® 10 Fast is naturally fairly low in viscosity, therefore it is important to thicken the material prior to applying it to the model. Add a capful of Thi-Vex® II silicone thickening agent and mix it in thoroughly. Once thoroughly mixed, the thickened Dragon Skin® should still be somewhat running but thick enough to hold a vertical. Thickness can be modified to suit the mold maker's preference depending on the amount of Thi-Vex® added.
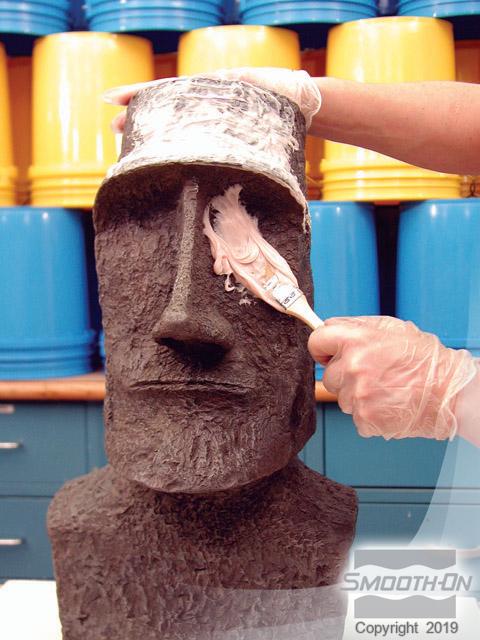
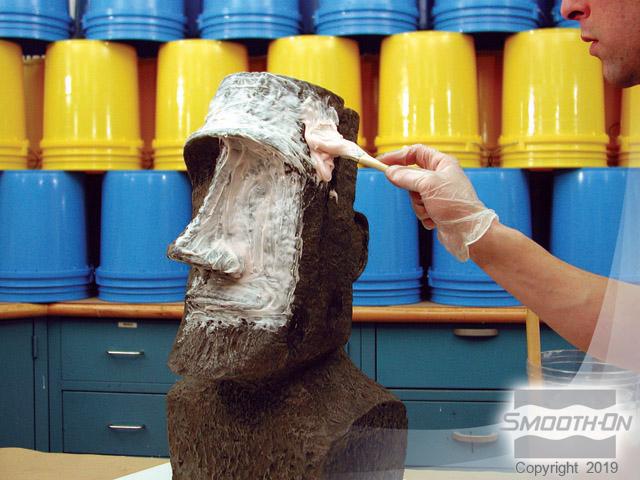
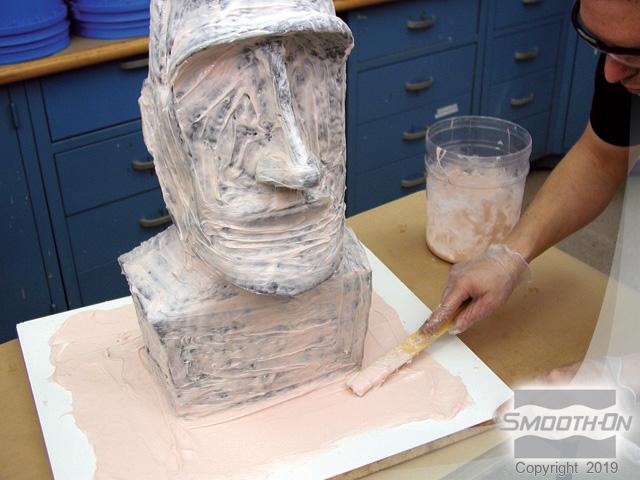
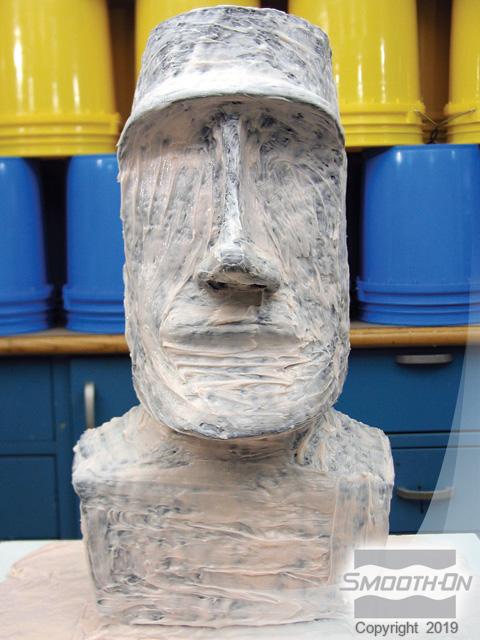
You can now begin applying Dragon Skin® 10 Fast to the original model. The first layer of a brush-on mold should be thin. This will help eliminate any chance of bubble entrapment. Examine the model from all viewpoints (even below) to ensure thorough coverage. Apply Dragon Skin® 10 Fast over the entire model and begin building a flange 3'' (8 cm) around the base of the model. After you have completed the first layer allow the rubber to cure until tacky prior to applying next layer (approximately 45 minutes).